Chocolate Mint Slice Bars
Highlighted under: From Batter to Bliss
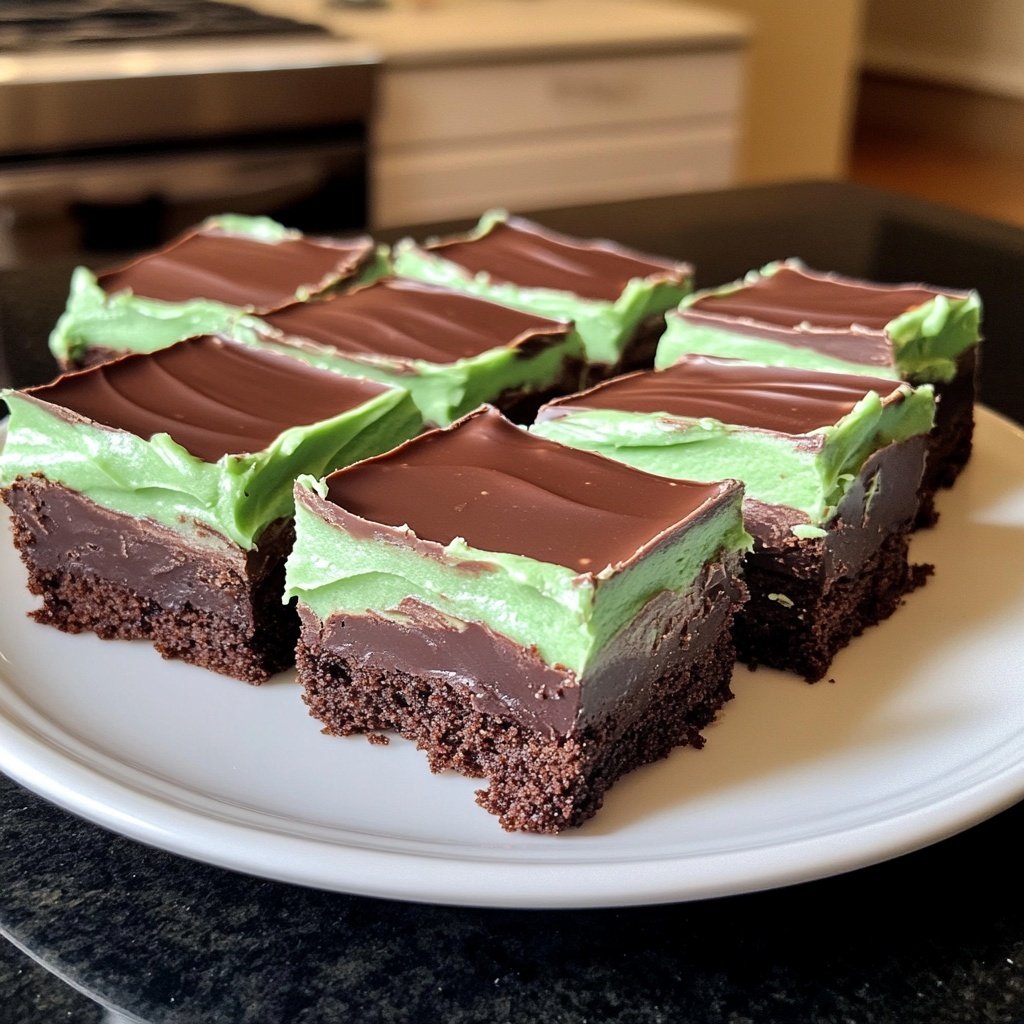
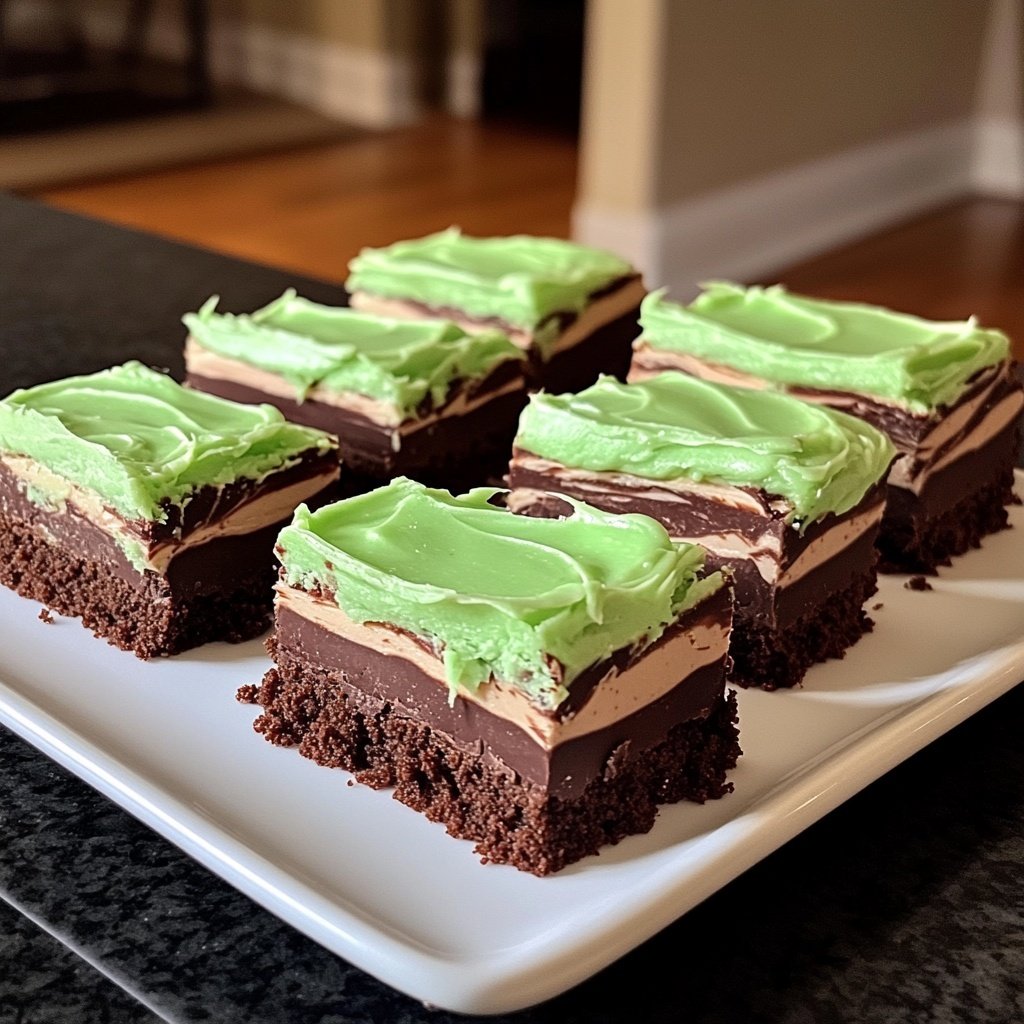
I love indulging in rich desserts, and these Chocolate Mint Slice Bars are one of my all-time favorites. The combination of smooth chocolate and refreshing mint creates a delightful balance that always leaves me craving more. Preparing these bars is surprisingly easy, and they come together quickly with just a few simple ingredients. I appreciate that they make a stunning presentation, perfect for sharing with friends or serving at gatherings. Trust me, these bars will impress everyone with their beautiful layered look and delicious flavor!
When I first made these Chocolate Mint Slice Bars, I was amazed at how quickly everything came together. The layers of chocolate and mint cream create an incredible flavor contrast that simply works. I recommend using high-quality chocolate for the best results because it makes a significant difference in taste.
One tip I've learned is to chill the bars adequately before cutting them. This helps ensure clean, sharp edges and keeps that beautiful layered look intact. The first time I didn't wait long enough, and it was a messy but delicious affair!
Why You'll Love These Bars
- Rich chocolate flavor balanced with refreshing mint
- Creamy, melt-in-your-mouth texture
- Impressive presentation perfect for any occasion
Texture and Flavor Balance
One of the standout features of these Chocolate Mint Slice Bars is their unique textural contrast. The crunchy base of chocolate biscuits provides a firm foundation, while the creamy mint filling and smooth chocolate topping create a luxurious mouthfeel. When combined, the layers contrast beautifully, making each bite an experience of rich chocolate interspersed with refreshing mint. This balance is key; ensure your filling is well-beaten to achieve that light, airy texture which complements the denser base perfectly.
In terms of flavor, you want the mint to shine without overpowering the chocolate. Taste your mint filling before spreading it onto the base. Adjust sweetness or minty intensity by adding more powdered sugar or peppermint extract in small increments. This way, you can tailor the flavors to your preference, ensuring a delightful experience for everyone enjoying these bars.
Storage and Make-Ahead Tips
These bars are ideal for make-ahead desserts, as they store exceptionally well in the refrigerator. Once they have set, wrap them tightly in plastic wrap or transfer them to an airtight container. They will keep in the fridge for up to one week, retaining their fresh taste and creamy texture. For longer storage, consider freezing the uncut bars. Just remember to place parchment paper between layers to prevent sticking, allowing them to be easily thawed and served later.
If you plan to serve the bars at a gathering or want to maintain their visual appeal, slice them just before serving. This helps avoid any potential for the chocolate coating to crack or the mint layer to smudge. Serve them chilled for the best experience; the refreshing mint flavor is more pronounced when they are slightly cold.
Ingredients
For the Base:
- 200g chocolate biscuits
- 100g unsalted butter, melted
For the Mint Filling:
- 200g cream cheese, softened
- 100g powdered sugar
- 1 tsp peppermint extract
- Green food coloring (optional)
For the Chocolate Topping:
- 200g dark chocolate, chopped
- 50g unsalted butter
Instructions
Prepare the Base
In a food processor, whiz the chocolate biscuits until finely crushed. In a mixing bowl, combine the crushed biscuits with the melted butter until well combined. Press the mixture firmly into the base of a lined square baking dish. Chill while preparing the filling.
Make the Mint Filling
In a large mixing bowl, beat the softened cream cheese until smooth. Gradually add powdered sugar, peppermint extract, and a few drops of green food coloring, mixing until well combined. Spread the mint filling evenly over the chilled biscuit base.
Prepare the Chocolate Topping
In a heatproof bowl, melt the dark chocolate and butter together over a pot of simmering water, stirring until smooth. Pour the melted chocolate over the mint layer, spreading it evenly. Chill for at least 1 hour to set.
Serve
Once set, remove the bars from the baking dish and cut them into squares. Enjoy your delicious Chocolate Mint Slice Bars!
Pro Tips
- For added elegance, consider drizzling some extra melted chocolate on top of the slices after cutting for a decorative touch.
Serving Suggestions
These Chocolate Mint Slice Bars can be served as they are, or dressed up with a few garnishes for a more elevated presentation. Consider drizzling some melted chocolate over the top for an added touch of elegance or adding a sprinkle of crushed chocolate biscuits for texture. Fresh mint leaves as garnish not only enhance the visual appeal but also echo the mint flavor beautifully.
For an extra layer of flavor, you might also serve these bars with a side of whipped cream or a scoop of vanilla ice cream. The creamy accompaniment provides an ideal complement to the rich chocolate and cool mint, making for a truly indulgent treat.
Common Troubleshooting
If you find your chocolate topping is not setting properly, it could be due to excess moisture in your ingredients or not melting the chocolate properly. Ensure your bowl is completely dry before combining the chocolate and butter, and melt gently over simmering water until glossy. If it’s too runny, it may need a bit more time in the fridge to set up properly.
Another common issue is the mint filling being too runny. This can happen if the cream cheese is not adequately beaten or if it’s too warm. Make sure to use softened cream cheese and beat it until smooth but firm; chilling it briefly before adding the powdered sugar can also help reach the perfect consistency.
Questions About Recipes
→ Can I use gluten-free biscuits for the base?
Yes, gluten-free biscuits work perfectly in this recipe!
→ How long can I store the Chocolate Mint Slice Bars?
They can be stored in the fridge for up to one week in an airtight container.
→ Can I freeze these bars?
Absolutely! Just wrap them tightly in plastic wrap and place them in a freezer-safe container.
→ What if I don’t have cream cheese?
You can substitute with mascarpone or a dairy-free cream cheese alternative.
Chocolate Mint Slice Bars
Created by: Sabrina Holt
Recipe Type: From Batter to Bliss
Skill Level: Easy
Final Quantity: 12 bars
What You'll Need
For the Base:
- 200g chocolate biscuits
- 100g unsalted butter, melted
For the Mint Filling:
- 200g cream cheese, softened
- 100g powdered sugar
- 1 tsp peppermint extract
- Green food coloring (optional)
For the Chocolate Topping:
- 200g dark chocolate, chopped
- 50g unsalted butter
How-To Steps
In a food processor, whiz the chocolate biscuits until finely crushed. In a mixing bowl, combine the crushed biscuits with the melted butter until well combined. Press the mixture firmly into the base of a lined square baking dish. Chill while preparing the filling.
In a large mixing bowl, beat the softened cream cheese until smooth. Gradually add powdered sugar, peppermint extract, and a few drops of green food coloring, mixing until well combined. Spread the mint filling evenly over the chilled biscuit base.
In a heatproof bowl, melt the dark chocolate and butter together over a pot of simmering water, stirring until smooth. Pour the melted chocolate over the mint layer, spreading it evenly. Chill for at least 1 hour to set.
Once set, remove the bars from the baking dish and cut them into squares. Enjoy your delicious Chocolate Mint Slice Bars!
Extra Tips
- For added elegance, consider drizzling some extra melted chocolate on top of the slices after cutting for a decorative touch.
Nutritional Breakdown (Per Serving)
- Calories: 250 kcal
- Total Fat: 15g
- Saturated Fat: 10g
- Cholesterol: 30mg
- Sodium: 50mg
- Total Carbohydrates: 28g
- Dietary Fiber: 2g
- Sugars: 15g
- Protein: 3g