Chewy Sourdough Discard Brownies
Highlighted under: From Batter to Bliss
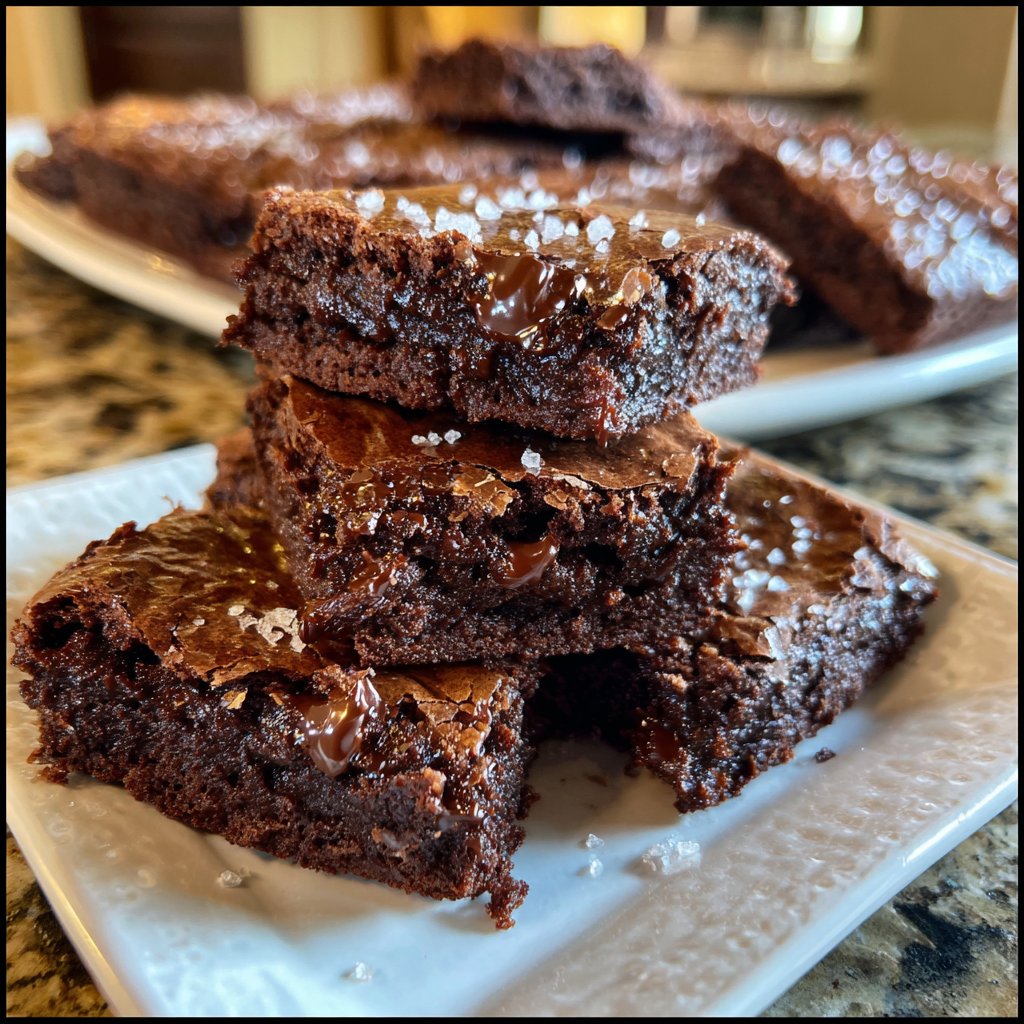
I absolutely love making these Chewy Sourdough Discard Brownies because they’re a delicious way to use up leftover sourdough starter. The combination of rich chocolate and the unique flavor imparted by the sourdough gives these brownies an edge that’s hard to resist. Each bite is chewy and decadent, perfect for satisfying a sweet craving. Plus, the recipe is simple and quick, allowing for a delightful treat that doesn’t take all day to prepare. Trust me, you’ll want to keep this recipe close at hand!
Making these Chewy Sourdough Discard Brownies was a delightful journey into flavor. Initially, I was skeptical about the tang from the sourdough, but that slight acidity balanced perfectly with the sweet chocolate. I discovered that using a mixture of dark and semi-sweet chocolate made the taste more complex and rich, resulting in a brownie that’s addictive!
One of my favorite tips is to let the brownies cool completely before cutting. This gives them a chewy texture that’s beyond satisfying. I realized that while they’re delicious warm, they transform into a fudge-like delight when they set. Trust me, allowing them to rest is worth it!
Why You'll Love These Brownies
- Rich chocolate flavor with a unique tang from sourdough starter
- Chewy texture that keeps you coming back for more
- Easy to make and perfect for any chocolate lover
Understanding the Role of Sourdough Discard
The sourdough starter discard not only adds a unique tanginess to the brownies but also contributes to their chewy texture. This fermentation process breaks down starches and proteins, resulting in a more complex flavor profile. When you incorporate this ingredient, you're not just reducing food waste; you’re enhancing the brownies' depth. If you're worried about the flavor being too strong, rest assured that the chocolate and sugar balance it out beautifully, creating a harmonious blend that elevates each bite.
Using sourdough starter gives the brownies structure while keeping them moist. The natural acids in the starter also help tenderize the gluten structure, which is essential for achieving that desired chewiness. When you're mixing your batter, make sure not to overmix it after adding the dry ingredients; this will help maintain that soft, fudgy texture. Remember, the goal is to mix it just until you see no dry flour, as overworking the dough can yield a denser brownie.
Tips for Perfectly Baked Brownies
Baking brownies requires a delicate balance; taking them out too early can lead to a gooey center, while overbaking can dry them out. Aim for a baking time of about 25 minutes, but don't rely solely on the clock. Instead, use a toothpick to test your brownies: it should come out with a few moist crumbs for that perfect chewy texture. If you've baked them and they seem underdone, you can always return them to the oven for a few more minutes, checking periodically to avoid overbaking.
Choosing the right pan is also critical for achieving perfect brownies. A metal pan will produce a slightly crispier edge, while a glass or ceramic pan may yield a softer result. If you're aiming for that gooey chocolate fudge experience, glass or ceramic might be the way to go, but keep in mind that baking time can vary. For best results, ensure your pan is greased or lined with parchment paper to easily lift the brownies out once cooled.
Ingredients
Gather these ingredients to get started:
Ingredients
- 1 cup sourdough starter discard
- 1/2 cup unsalted butter, melted
- 1 cup granulated sugar
- 2 large eggs
- 1 teaspoon vanilla extract
- 1/2 cup all-purpose flour
- 1/3 cup unsweetened cocoa powder
- 1/2 teaspoon baking powder
- 1/4 teaspoon salt
- 1 cup chocolate chips
Make sure all ingredients are at room temperature for the best results.
Instructions
Follow these steps to create your delicious brownies:
Preheat and Prep
Preheat your oven to 350°F (175°C) and grease a baking dish or line it with parchment paper.
Mix Ingredients
In a large bowl, combine the sourdough starter, melted butter, and sugar. Mix well, then add eggs and vanilla extract and stir until smooth.
Combine Dry Ingredients
In a separate bowl, whisk together the flour, cocoa powder, baking powder, and salt.
Blend Together
Gradually fold the dry ingredients into the wet mixture until just combined. Stir in the chocolate chips.
Bake
Pour the batter into the prepared baking dish and bake for 25 minutes. A toothpick should come out with a few moist crumbs.
Cool and Enjoy
Allow the brownies to cool completely before cutting into squares to ensure a chewier texture.
Enjoy your delicious brownies with a scoop of ice cream or a sprinkle of sea salt!
Pro Tips
- If you want to add extra flavor, consider mixing in nuts or a swirl of peanut butter before baking.
Storage and Make-Ahead Tips
These brownies can be stored in an airtight container at room temperature for up to three days, but if you want to extend their shelf life, consider refrigerating them. They can also be frozen for up to three months. Just cut them into squares before freezing and place them in a single layer on a lined baking sheet until solid. After that, transfer them to a freezer-safe bag or container, separating layers with parchment paper to prevent sticking.
For those who like to plan ahead, you can prepare the batter in advance and refrigerate it for a day. Just make sure to bring it back to room temperature before baking; this will help ensure even baking. If you don’t finish all the brownies in one go, they can be gently reheated in the microwave for a few seconds or enjoyed cold for a different texture.
Delicious Variations to Try
Feeling adventurous? Try adding nuts or dried fruit to your brownie mix. Walnuts or pecans add a delightful crunch that contrasts beautifully with the chewy texture. If you prefer a sweeter twist, white chocolate chips or even a swirl of peanut butter can create an indulgent variation. Just be cautious with the add-ins; too many can alter the brownies' structure and texture.
You can also play with the chocolate flavor by substituting half of the cocoa powder with melted dark or milk chocolate. This will deepen the chocolate notes and provide a richer flavor. Just remember to adjust the sugar slightly if you’re using sweeter chocolate to keep the sweetness balanced. These small adjustments can lead to a new favorite brownie variation.
Questions About Recipes
→ Can I use a different type of chocolate?
Yes, you can use milk chocolate or a mix of chocolates to suit your taste preference!
→ How should I store the brownies?
Store the brownies in an airtight container at room temperature for up to 5 days.
→ Can I freeze these brownies?
Absolutely! Wrap them tightly and freeze for up to 3 months. Just thaw before enjoying.
→ What can I use instead of sourdough discard?
You can substitute with an equal amount of unsweetened applesauce or yogurt for a similar texture.

Chewy Sourdough Discard Brownies
Created by: Sabrina Holt
Recipe Type: From Batter to Bliss
Skill Level: Easy
Final Quantity: 12 brownies
What You'll Need
Ingredients
- 1 cup sourdough starter discard
- 1/2 cup unsalted butter, melted
- 1 cup granulated sugar
- 2 large eggs
- 1 teaspoon vanilla extract
- 1/2 cup all-purpose flour
- 1/3 cup unsweetened cocoa powder
- 1/2 teaspoon baking powder
- 1/4 teaspoon salt
- 1 cup chocolate chips
How-To Steps
Preheat your oven to 350°F (175°C) and grease a baking dish or line it with parchment paper.
In a large bowl, combine the sourdough starter, melted butter, and sugar. Mix well, then add eggs and vanilla extract and stir until smooth.
In a separate bowl, whisk together the flour, cocoa powder, baking powder, and salt.
Gradually fold the dry ingredients into the wet mixture until just combined. Stir in the chocolate chips.
Pour the batter into the prepared baking dish and bake for 25 minutes. A toothpick should come out with a few moist crumbs.
Allow the brownies to cool completely before cutting into squares to ensure a chewier texture.
Extra Tips
- If you want to add extra flavor, consider mixing in nuts or a swirl of peanut butter before baking.
Nutritional Breakdown (Per Serving)
- Calories: 380 kcal
- Total Fat: 26g
- Saturated Fat: 15g
- Cholesterol: 195mg
- Sodium: 85mg
- Total Carbohydrates: 32g
- Dietary Fiber: 3g
- Sugars: 24g
- Protein: 6g