Made these for a cooking tasting contest at my church, but they were out before the contest even began! Dang!
Highlighted under: Comfort Food Heritage
Made these for a cooking tasting contest at my church, but they were out before the contest even began! Dang!
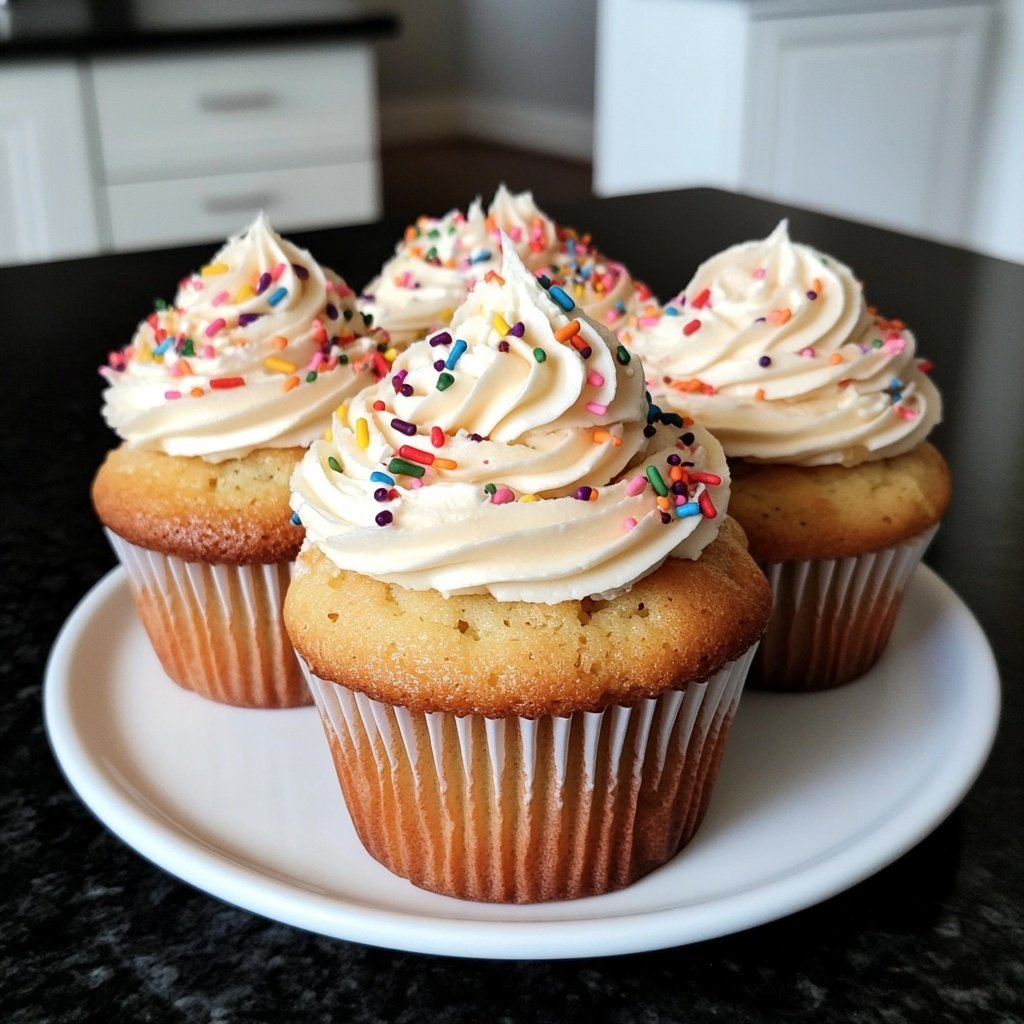
This recipe was a huge hit at my church's cooking tasting contest. Everyone loved it so much that they were gone before the contest even started!
Why You'll Love This Recipe
- Rich flavors that everyone will enjoy
- Perfectly balanced sweetness
- Great for gatherings and special occasions
A Delicious Treat for Any Occasion
This recipe is perfect for any gathering, whether it's a casual get-together or a special celebration. The delightful aroma that fills your kitchen while these treats bake will have everyone eagerly anticipating the first bite. The rich flavors and perfectly balanced sweetness make them a hit among guests of all ages. You'll find that they disappear quickly, so consider making a double batch to ensure there's enough to go around!
Not only are these treats a fantastic addition to your dessert table, but they also lend themselves well to customization. You can add your favorite mix-ins like chocolate chips, nuts, or dried fruits to personalize the recipe to your liking. This versatility allows you to create a unique dessert each time you make it, ensuring that your friends and family will always be pleasantly surprised.
Making Baking Fun and Easy
Baking can be an enjoyable and rewarding experience, especially when you have a simple recipe that yields such delicious results. This recipe is beginner-friendly, allowing even novice bakers to feel confident in their skills. The step-by-step instructions guide you through the process, ensuring that you achieve the perfect texture and flavor every time. Plus, involving kids or friends in the baking process can turn it into a fun group activity that everyone can enjoy.
One of the best parts about this recipe is that it allows you to practice your baking techniques. From creaming butter and sugar to folding in dry ingredients, each step builds your skills and helps you become a more proficient baker. With practice, you'll find that baking becomes second nature, and you can experiment with even more complex recipes in the future.
Serving Suggestions and Storage Tips
Once your delicious treats are baked and cooled, it's time to serve them up! These treats are delightful on their own, but you can elevate them by serving them with a scoop of ice cream or drizzled with chocolate sauce. Pair them with fresh fruit or whipped cream for a refreshing twist. They make an excellent addition to a potluck or picnic, where they are sure to impress your fellow attendees.
If you find yourself with leftovers, don’t worry! These treats can be stored in an airtight container at room temperature for up to three days, or in the refrigerator for up to a week. For longer storage, consider freezing them. Simply wrap individual pieces in plastic wrap and place them in a freezer-safe bag. When you’re ready to enjoy them again, just thaw at room temperature, and they will taste almost freshly baked!
Ingredients
Gather the following ingredients to get started:
Main Ingredients
- 2 cups all-purpose flour
- 1 cup sugar
- 1/2 cup butter, softened
- 1 cup milk
- 3 large eggs
- 2 teaspoons baking powder
- 1 teaspoon vanilla extract
- 1/2 teaspoon salt
Now that you have all your ingredients ready, let's move on to the steps!
Instructions
Follow these steps to create your delicious dish:
Preheat the Oven
Preheat your oven to 350°F (175°C) and grease a 9x13 inch baking pan.
Mix Dry Ingredients
In a bowl, mix together the flour, baking powder, and salt. Set aside.
Cream Butter and Sugar
In a large bowl, cream the softened butter and sugar until light and fluffy.
Add Eggs and Vanilla
Add the eggs one at a time, mixing well after each addition. Stir in the vanilla extract.
Combine Mixtures
Gradually add the dry ingredients to the wet mixture, alternating with milk. Mix until just combined.
Bake
Pour the batter into the prepared baking pan and bake for 30 minutes or until a toothpick inserted into the center comes out clean.
Cool and Serve
Allow to cool before cutting into squares and serving.
Enjoy your delicious creation!
Pro Tips
- For added flavor, consider mixing in some chocolate chips or nuts into the batter.
Why Baking is a Joyful Experience
Baking is more than just preparing food; it's an art that brings joy, comfort, and creativity to our lives. The process of mixing ingredients, watching them transform in the oven, and finally sharing the finished product creates a sense of satisfaction that few other activities can match. It's an opportunity to express yourself and show love to those around you, making it a cherished tradition in many households.
Moreover, baking creates lasting memories. Whether it's whipping up a batch of cookies during the holidays or baking a cake for someone's birthday, these moments become cherished stories shared for years to come. It’s a way to connect with loved ones and create a warm, inviting atmosphere that brings everyone together.
Exploring Flavor Combinations
One of the fantastic aspects of baking is experimenting with flavor combinations. While this recipe is delicious as is, consider playing around with different flavors to find your perfect match. For instance, adding a teaspoon of almond extract can impart a lovely nutty flavor, while citrus zest can brighten up the overall taste. You can even infuse the batter with spices like cinnamon or nutmeg for a cozy, autumnal twist.
Another fun way to enhance the flavor is by incorporating seasonal ingredients. For example, during the fall, you might add pumpkin puree and spices for a festive touch, while in the summer, fresh berries can add a burst of flavor and color. This recipe is a wonderful blank canvas for your creativity!
Questions About Recipes
→ Can I make this recipe gluten-free?
Yes, you can substitute the all-purpose flour with a gluten-free flour blend.
→ How long can I store the leftovers?
You can store leftovers in an airtight container for up to 3 days at room temperature.
→ Can I freeze the baked goods?
Yes, they freeze well. Wrap them tightly in plastic wrap and store in an airtight container.
→ What can I serve with this dish?
This dish pairs well with whipped cream or fresh fruit.
Made these for a cooking tasting contest at my church, but they were out before the contest even began! Dang!
Created by: Sabrina Holt
Recipe Type: Comfort Food Heritage
Skill Level: Intermediate
Final Quantity: 12 servings
What You'll Need
Main Ingredients
- 2 cups all-purpose flour
- 1 cup sugar
- 1/2 cup butter, softened
- 1 cup milk
- 3 large eggs
- 2 teaspoons baking powder
- 1 teaspoon vanilla extract
- 1/2 teaspoon salt
How-To Steps
Preheat your oven to 350°F (175°C) and grease a 9x13 inch baking pan.
In a bowl, mix together the flour, baking powder, and salt. Set aside.
In a large bowl, cream the softened butter and sugar until light and fluffy.
Add the eggs one at a time, mixing well after each addition. Stir in the vanilla extract.
Gradually add the dry ingredients to the wet mixture, alternating with milk. Mix until just combined.
Pour the batter into the prepared baking pan and bake for 30 minutes or until a toothpick inserted into the center comes out clean.
Allow to cool before cutting into squares and serving.
Extra Tips
- For added flavor, consider mixing in some chocolate chips or nuts into the batter.
Nutritional Breakdown (Per Serving)
- Calories: 380 kcal
- Total Fat: 26g
- Saturated Fat: 15g
- Cholesterol: 195mg
- Sodium: 85mg
- Total Carbohydrates: 32g
- Dietary Fiber: 3g
- Sugars: 24g
- Protein: 6g